Step 4: Motor Configuration
Prerequisites: Before proceeding, ensure you have:
- ✅ Motor IDs configured (Step 1)
- ✅ CAN interface configured (Step 2)
- ✅ Basic communication tested (Step 3)
Overview
We now need to complete the motor setup sprocess. This involves three key tasks:
Step 1: Set Motor Baudrate
- Be sure to use the CAN interface on 2.0 during the baudrate setup regardless of your target baudrate. Configure it back to your target baudrate after this step is finished.
- Motor parameters has a 10000 time write limits, it should not be run frequently in scripts.
Set the baudrate for each motor (replace 1 with your motor CAN ID and 5000000 with desired baudrate):
Set temporarily:
openarm-can-change-baudrate --baudrate 5000000 --canid 1 --socketcan can0
Save permanently:
openarm-can-change-baudrate --baudrate 5000000 --canid 1 --socketcan can0 --flash
Important: After completing the baudrate configuration, reconfigure your CAN interface to match the motor's new baudrate setting for proper communication if necessary.
Supported Baudrates:
| Option | Baudrate | Description |
|---|---|---|
| 0 | 125000 | 125 kbps |
| 1 | 200000 | 200 kbps |
| 2 | 250000 | 250 kbps |
| 3 | 500000 | 500 kbps |
| 4 | 1000000 | 1 mbps |
| 5 | 2000000 | 2 mbps |
| 6 | 2500000 | 2.5 mbps |
| 7 | 3200000 | 3.2 mbps |
| 8 | 4000000 | 4 mbps |
| 9 | 5000000 | 5 mbps |
Step 2: Zero Position Calibration
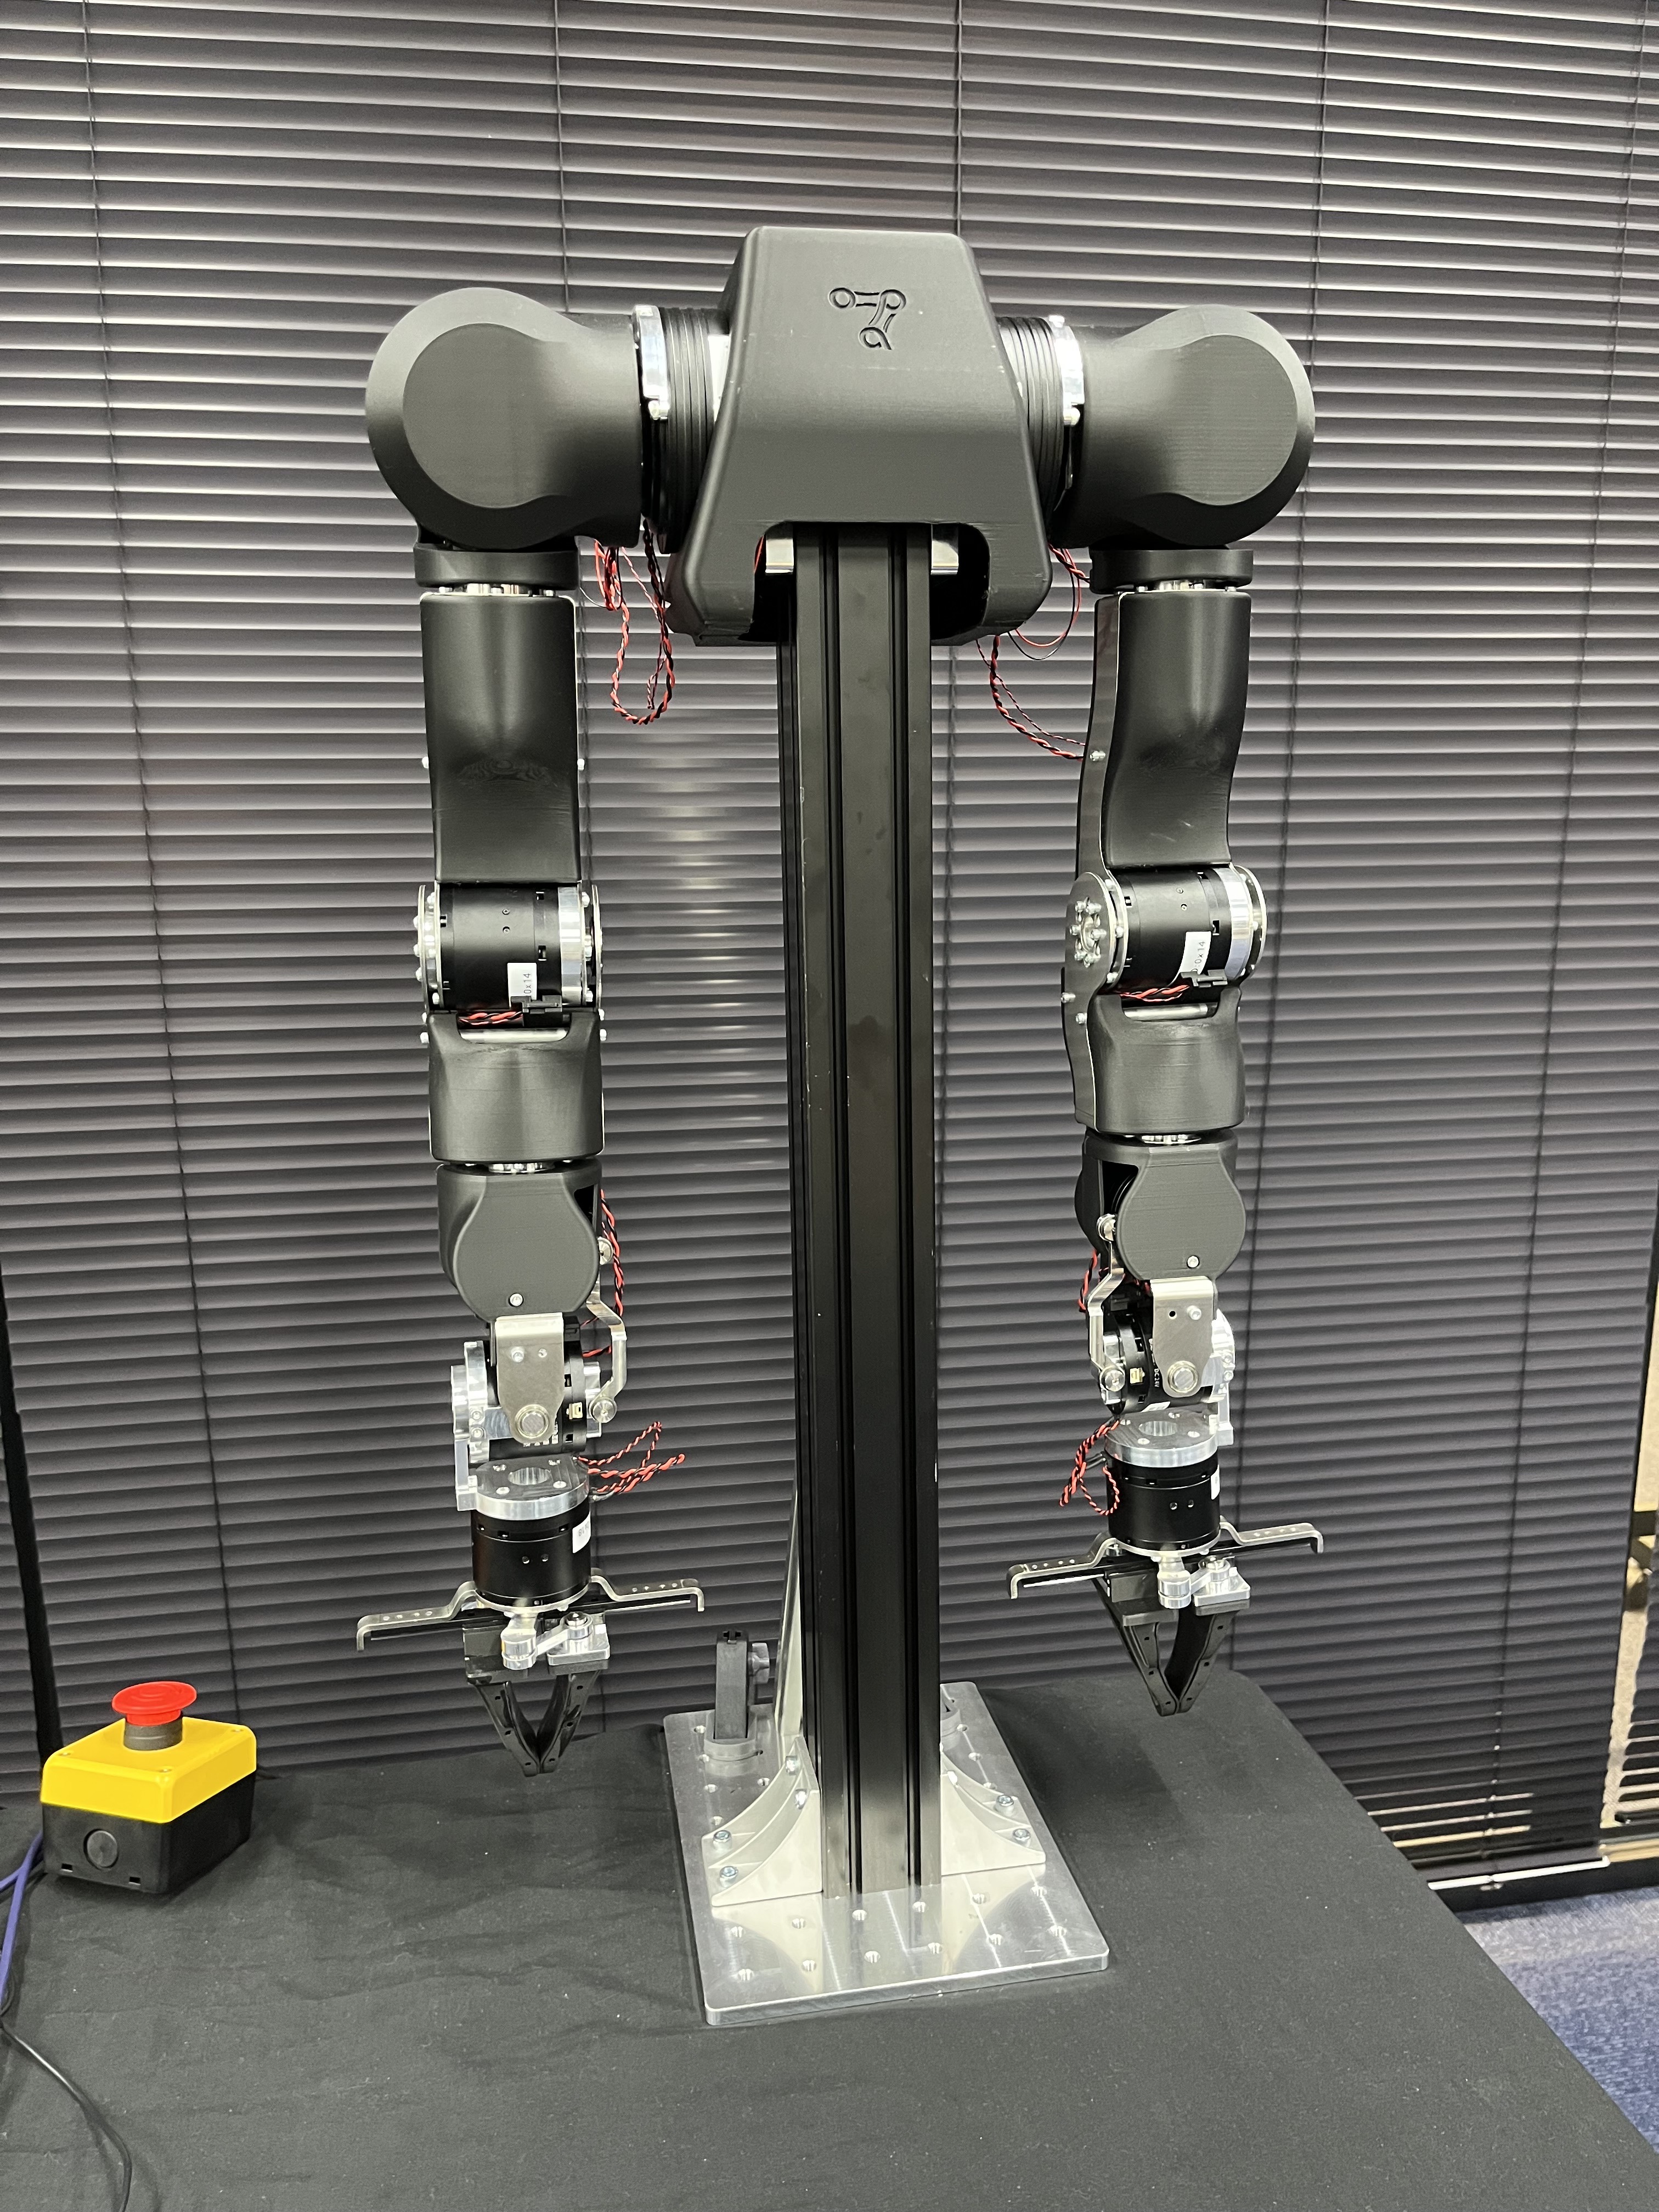
Physically position the arms to roughly match the zero position shown below before running calibration.
For grippers, the closed position is used as zero by default.
When setting up in a Leader-Follower configuration, please run the zero position calibration for the Leader and the Follower separately, while they are in their independent states.
Safety First! The robot will move automatically when calibration starts. Wear safety gear, clear the workspace, and be ready to emergency stop.
The zero position calibration runs one arm at a time.
Run the zero position calibration (this defaults to can 0, right arm):
openarm-can-zero-position-calibration
For specific arms, run:
# Leader-side Left
openarm-can-zero-position-calibration --canport can1 --arm_side left_arm
# Follower-side Right
openarm-can-zero-position-calibration --canport can2 --arm_side right_arm
# Follower-side Left
openarm-can-zero-position-calibration --canport can3 --arm_side left_arm
Step 3: Verify Motor Communication
Run the motor check executable, replace 1 and 17 with your motor's send and receive CAN IDs.
Note: CAN ID 17 is the decimal representation of 0x11
For CAN 2.0
openarm-can-motor-check 1 17 can0
For CAN FD mode:
openarm-can-motor-check 1 17 can0 -fd
The output should display the motor's receiver ID, baudrate, and status information.
Verification steps:
- Check baudrate: Verify the displayed baudrate matches what you configured earlier
- Test permanent settings: If you used
--flash, power cycle the motor and run the check again to confirm the settings persisted - Troubleshoot: If the baudrate doesn't match, switch your CAN interface to 2.0 and re-run the baudrate change script
It is important to get the openarm-can-motor-check working before running the demo.
Troubleshooting
- Check CAN interface is UP
- Verify motor is physically connected and powered, set with the correct ID
- Verify can connection is stable (important!)
- Use
candumpto monitor the traffic - Check CAN interface baudrate matches motor's current baudrate
- Verify send/receive CAN IDs are correct. Common pairs: 1→17, 2→18, 3→19, etc.